This guide walks you through every stage of drawing an African Gray Parrot, from basic shapes to detailed feather shading. Follow the clear steps and you will create a lifelike portrait of this intelligent bird.
Key Takeaways
- Start with simple shapes: Use circles and ovals to block out the African Gray Parrot before adding details.
- Use a good reference photo: A clear image helps you capture the unique feather pattern of the African Gray Parrot.
- Build feather layers gradually: Add light strokes first, then deepen shadows for a realistic African Gray Parrot texture.
- Watch your light source: Consistent shading makes the African Gray Parrot look three‑dimensional.
- Keep erasers handy: Clean highlights on the eye and beak bring the African Gray Parrot to life.
- Practice patience: Realistic feather detail on an African Gray Parrot takes time and repetition.
Introduction
Welcome to this guide on how to draw a African Gray Parrot. In this tutorial you will learn the basic shapes, the feather details, and the shading techniques that bring this beautiful bird to life. Whether you are a beginner or an experienced artist, the steps are easy to follow and will help you create a realistic African Gray Parrot drawing. Grab your sketchbook, find a comfortable spot, and let us begin the journey together. The African Gray Parrot is known for its sleek gray feathers, bright red tail, and intelligent eyes. Capturing those features will make your artwork stand out. This guide breaks the process into clear stages so you never feel overwhelmed. Each stage builds on the previous one, ensuring steady progress. By the end you will have a complete African Gray Parrot illustration you can be proud of.
Step 1: Gather Your Materials
Choose the Right Paper
Start with a medium‑weight drawing paper that can handle erasing and shading. A smooth surface lets you create fine feather lines on the African Gray Parrot without the paper tearing. Avoid very glossy paper because pencil will not grip well. A size of 9 by 12 inches gives you enough room for the full bird. If you prefer a larger sheet, that works too. Keep a spare sheet nearby for test strokes. The right paper sets the foundation for a clean African Gray Parrot sketch.
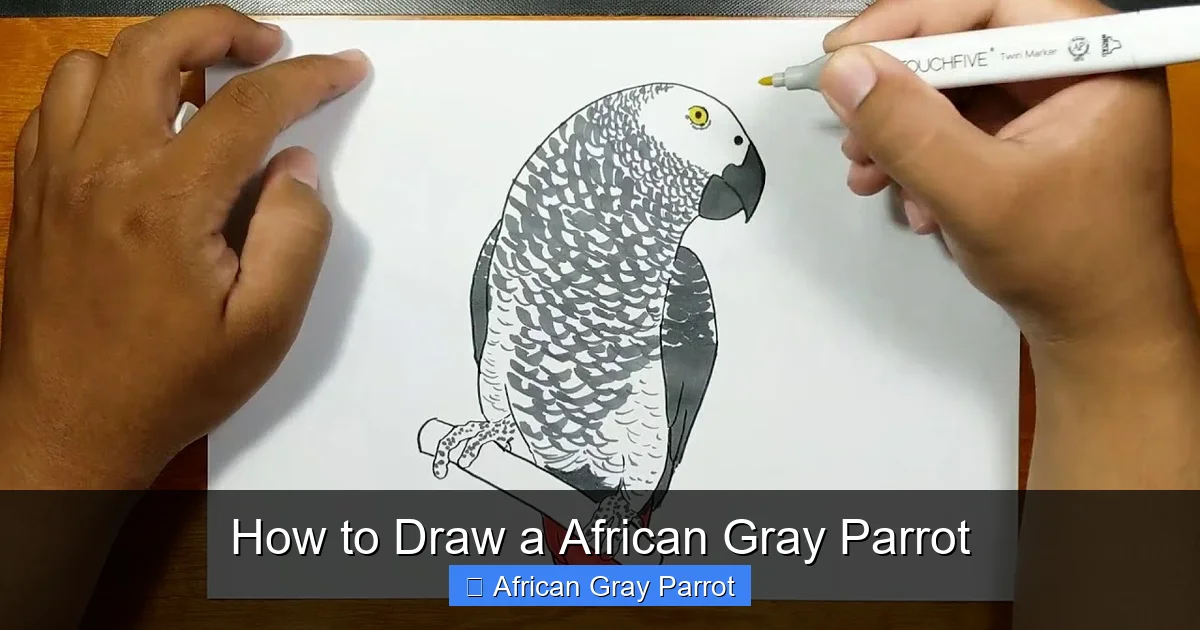
Visual guide about How to Draw a African Gray Parrot
Image source: i.ytimg.com
Select Pencils and Erasers
Gather a range of graphite pencils from 2H to 6B. Hard pencils like 2H are perfect for light construction lines on the African Gray Parrot. Soft pencils like 4B and 6B give deep shadows for feather depth. A kneaded eraser lifts graphite without damaging the paper. A vinyl eraser removes larger areas cleanly. Having both erasers lets you refine highlights on the African Gray Parrot eye and beak. Keep a sharpener handy for crisp points.
Prepare a Reference Photo
Find a high‑resolution photo of an African Gray Parrot in a pose you like. Print it or keep it on a tablet for easy viewing. Look for clear light direction so you can see where shadows fall on the African Gray Parrot feathers. A side view shows the profile of the head and the curve of the tail. A front view reveals the feather pattern on the chest. Having a reference reduces guesswork and improves accuracy. Keep the reference close while you draw.
Step 2: Sketch the Basic Shapes
Draw the Head Circle
Lightly sketch a circle near the top center of your paper for the African Gray Parrot head. Use a 2H pencil so the line stays faint. The circle size determines the overall scale of the bird. Keep the circle round; avoid oval shapes at this stage. This circle will guide the placement of the beak and eye later. Do not press hard; you will erase construction lines later. A clean circle makes the next steps easier.
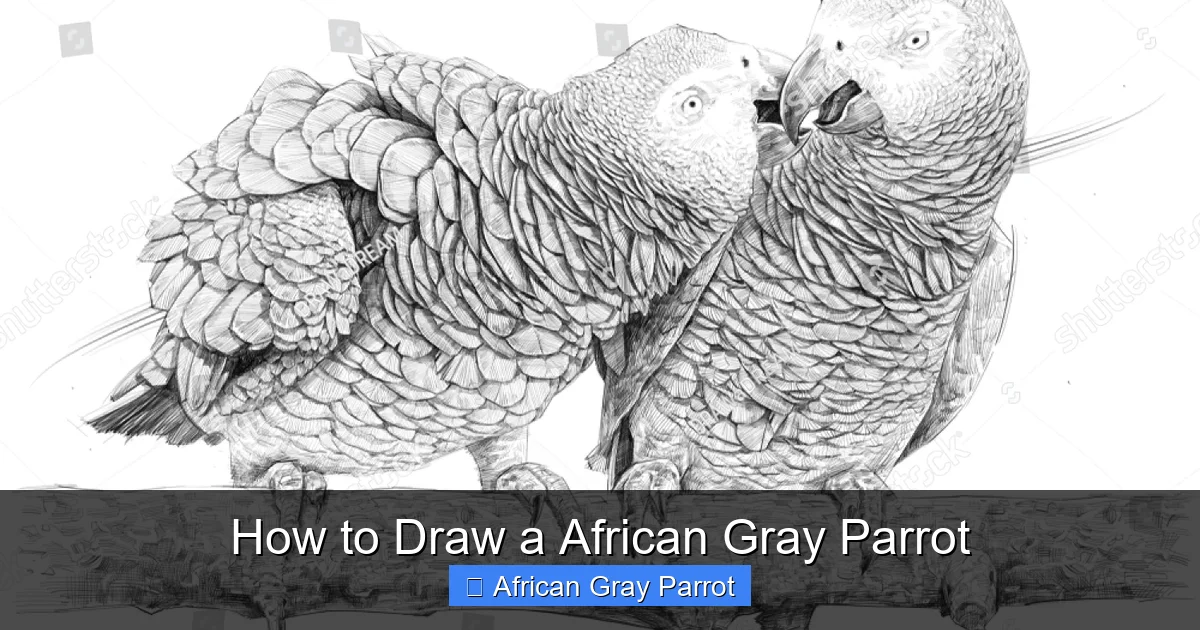
Visual guide about How to Draw a African Gray Parrot
Image source: shutterstock.com
Add the Body Oval
Below the head circle draw a larger oval for the African Gray Parrot torso. Align the oval so its top touches the bottom of the head circle. The oval should be slightly wider than the head circle. This shape represents the chest and belly area. Keep the line light and loose. The oval provides a framework for wing attachment and tail placement. Adjust the proportion until the bird looks balanced.
Position the Wings and Tail
From the upper sides of the body oval sketch two curved lines for the African Gray Parrot wings. The wings should follow the natural fold of a resting bird. Add a long tapered shape at the rear of the oval for the tail. The tail of an African Gray Parrot is distinctive with a bright red tip. Keep these lines simple; you will refine feathers later. Proper placement now prevents major corrections later.
Step 3: Outline the Head Details
Sketch the Beak
Draw a strong, slightly curved beak extending from the lower front of the head circle. The African Gray Parrot beak is thick at the base and tapers to a point. Use a 2H pencil for a clean outline. Add a small nostril notch near the top of the upper mandible. Keep the beak proportionate to the head size. A well‑drawn beak gives the African Gray Parrot its characteristic look.
Draw the Eye
Place a round eye just above the beak line on the head circle. The African Gray Parrot eye is dark with a bright highlight. Sketch a small circle for the pupil and a larger circle for the iris. Leave a tiny white spot for the catchlight. This highlight will later become the most lively part of the drawing. Keep the eye centered horizontally within the head circle. Accurate eye placement adds personality.
Add the Feather Crown
Around the top of the head circle indicate the feather crown of the African Gray Parrot. Use short, curved strokes that radiate outward. These feathers are shorter than body feathers. Keep the strokes light; they will be refined in the shading stage. The crown frames the face and adds realism. Observe your reference for the exact direction of each feather. Consistency here helps the final African Gray Parrot look natural.
Step 4: Define the Body and Wings
Refine the Body Contour
Trace over the body oval with a slightly darker line to define the African Gray Parrot silhouette. Smooth any sharp angles into gentle curves. Add a subtle indentation where the wing meets the body. This contour guides feather placement later. Keep the line confident but not too heavy. A clean outline makes the African Gray Parrot shape readable from a distance.
Shape the Primary Feathers
On each wing draw the primary flight feathers of the African Gray Parrot. Start at the wrist joint and fan out toward the tip. Each feather is long, slightly tapered, and overlaps the next. Use a 2B pencil for these lines. Keep the spacing even. The primary feathers give the wing its broad shape. Reference your photo for the exact angle of each feather.
Add the Secondary Feathers
Behind the primaries sketch the secondary feathers of the African Gray Parrot. These are shorter and more rounded. They fill the inner wing area. Draw them with gentle curves that follow the wing’s contour. Overlap them slightly for depth. The secondary feathers create a smooth transition from wing to body. Take your time to keep the pattern consistent.
Step 5: Draw the Tail Feathers
Layout the Tail Shape
Extend the tail shape from the rear of the body oval into a fan of long feathers. The African Gray Parrot tail has a distinctive red tip on the central feathers. Sketch the central tail feather first, then add the side feathers symmetrically. Keep the overall tail length about one and a half times the body length. Light lines allow easy adjustments. A balanced tail anchors the composition.
Detail Each Tail Feather
Refine each tail feather with a central shaft and subtle barbs. The African Gray Parrot tail feathers are stiff and slightly curved. Add a faint line down the middle of each feather for the shaft. Use a 2B pencil for the shaft and a 4B for the darker edges. The red tip can be hinted with a warm tone later. Consistent detail makes the tail look realistic.
Step 6: Add Feather Texture and Shading
Create Light Feather Strokes
Switch to a 2B pencil and begin laying down light, directional strokes across the African Gray Parrot body. Follow the natural flow of feathers from head to tail. Use short, overlapping strokes to suggest texture. Keep the pressure light; you are building a base layer. This stage establishes the overall value pattern. Work systematically from top to bottom.
Build Midtone Values
Increase pressure slightly with a 4B pencil to deepen the midtones on the African Gray Parrot. Focus on areas where feathers overlap, such as the wing coverts and the chest. Blend gently with a blending stump or a tissue for smooth transitions. Preserve the lightest highlights on the head and the beak. Midtones give the bird volume and form. Check your reference often to match values.
Deepen Shadows
Use a 6B pencil for the darkest shadows on the African Gray Parrot. Apply it under the wing, beneath the tail, and around the eye socket. Keep the shadows crisp where the light source creates hard edges. Soften the shadow edges where feathers blend. Strong contrast makes the African Gray Parrot pop off the page. Avoid over‑darkening; you can always lift graphite with a kneaded eraser.
Step 7: Final Touches and Highlights
Add Highlights to the Eye
Take a kneaded eraser and lift a tiny spot of graphite on the African Gray Parrot pupil. This creates a bright catchlight that brings life to the eye. Add a second smaller highlight on the lower iris for depth. Keep the highlights sharp and clean. A lively eye draws the viewer’s attention instantly. This small step makes a big difference.
Enhance the Beak Shine
Lightly erase a thin line along the upper ridge of the African Gray Parrot beak. This suggests a glossy surface. Add a faint highlight on the lower mandible using the same technique. The beak should look smooth and slightly reflective. Do not overdo it; a subtle shine is more realistic. Compare with your reference for the correct highlight placement.
Clean Up Stray Lines
Scan the entire drawing for any unwanted construction lines on the African Gray Parrot. Use a vinyl eraser to remove them cleanly. Sharpen any feather edges that look fuzzy. Reinforce the darkest shadows if they have faded. A final pass ensures a polished, professional look. Sign your artwork in a corner if you wish.
Troubleshooting Common Issues
Proportions Look Off
If the African Gray Parrot head looks too large or the tail too short, revisit your basic shapes. Measure the head circle against the body oval using a ruler or your pencil. Adjust the oval size until the ratio matches your reference. Small corrections early prevent larger problems later. Keep checking proportions at each stage.
Feathers Look Flat
Flat feathers usually mean the shading values are too even on the African Gray Parrot. Add darker strokes in the feather overlaps and lighter strokes on the exposed edges. Use a blending tool to create gradual transitions. Observe how light hits each feather in your reference. Consistent value shifts give feathers a three‑dimensional feel.
Smudges and Eraser Marks
Graphite smudges can muddy the African Gray Parrot drawing. Place a clean sheet of paper under your hand while you work. Use a kneaded eraser for precise lifts instead of a hard eraser. If a smudge occurs, gently blot with a clean tissue. Keep your drawing surface clean for the best results.
Refining the African Gray Parrot Details
Sharpen Feather Edges
Go over each feather edge with a sharp 2H pencil to crisp the outline of the African Gray Parrot. Lightly drag the tip along the contour to remove any fuzzy graphite. This step defines each plume and separates overlapping layers. Work slowly to avoid cutting into the shading you built earlier. A clean edge makes the African Gray Parrot appear more polished and professional.
Deepen Eye Contrast
Increase the darkness around the iris of the African Gray Parrot using a 6B pencil. Add a thin ring of deep tone just outside the highlight to create a sense of depth. Blend the transition with a blending stump for a smooth gradient. The stronger contrast makes the eye the focal point of the drawing. Re‑check the catchlight to keep it bright and crisp.
Adjust Tail Symmetry
Compare the left and right tail feathers of the African Gray Parrot for length and angle. Use a ruler to measure from the central shaft to the tip on each side. If one side is longer, gently erase and redraw the feather to match. Symmetry gives the bird a balanced, natural posture. Small tweaks here greatly improve overall realism.
Optional Color and Presentation
Apply Light Color Washes
If you wish to add color, use a light wash of gray watercolor or colored pencil over the African Gray Parrot body. Keep the pigment transparent so the graphite texture shows through. Add a touch of red to the tail tip for the species’ signature flash. Work in thin layers to avoid muddying the drawing. A subtle hue can bring the African Gray Parrot to life without overwhelming the line work.
Add a Simple Background
Sketch a faint branch or a soft sky behind the African Gray Parrot to give context. Use a 2H pencil for very light lines so the bird remains the focus. A few suggestion lines for leaves or a blurred horizon add depth. Keep the background minimal to avoid distracting from the detailed feathers. This step frames the African Gray Parrot nicely for presentation.
Sign and Protect Your Artwork
Sign your name in a discreet corner of the African Gray Parrot drawing using a fine‑point pen. Spray a light fixative to protect the graphite from smudging over time. Store the piece flat in a portfolio or frame it under glass. Proper care ensures your hard work lasts for years. Sharing a well‑preserved African Gray Parrot illustration inspires others to try the same process.
Conclusion
You have now completed a full drawing of an African Gray Parrot from start to finish. Each step built your skills in shape construction, feather rendering, and value control. Remember that practice makes the process smoother each time you draw an African Gray Parrot. Experiment with different poses and lighting to expand your portfolio. Share your work with fellow artists for feedback. Keep a sketchbook dedicated to bird studies for continual improvement. Thank you for following this guide, and happy drawing.